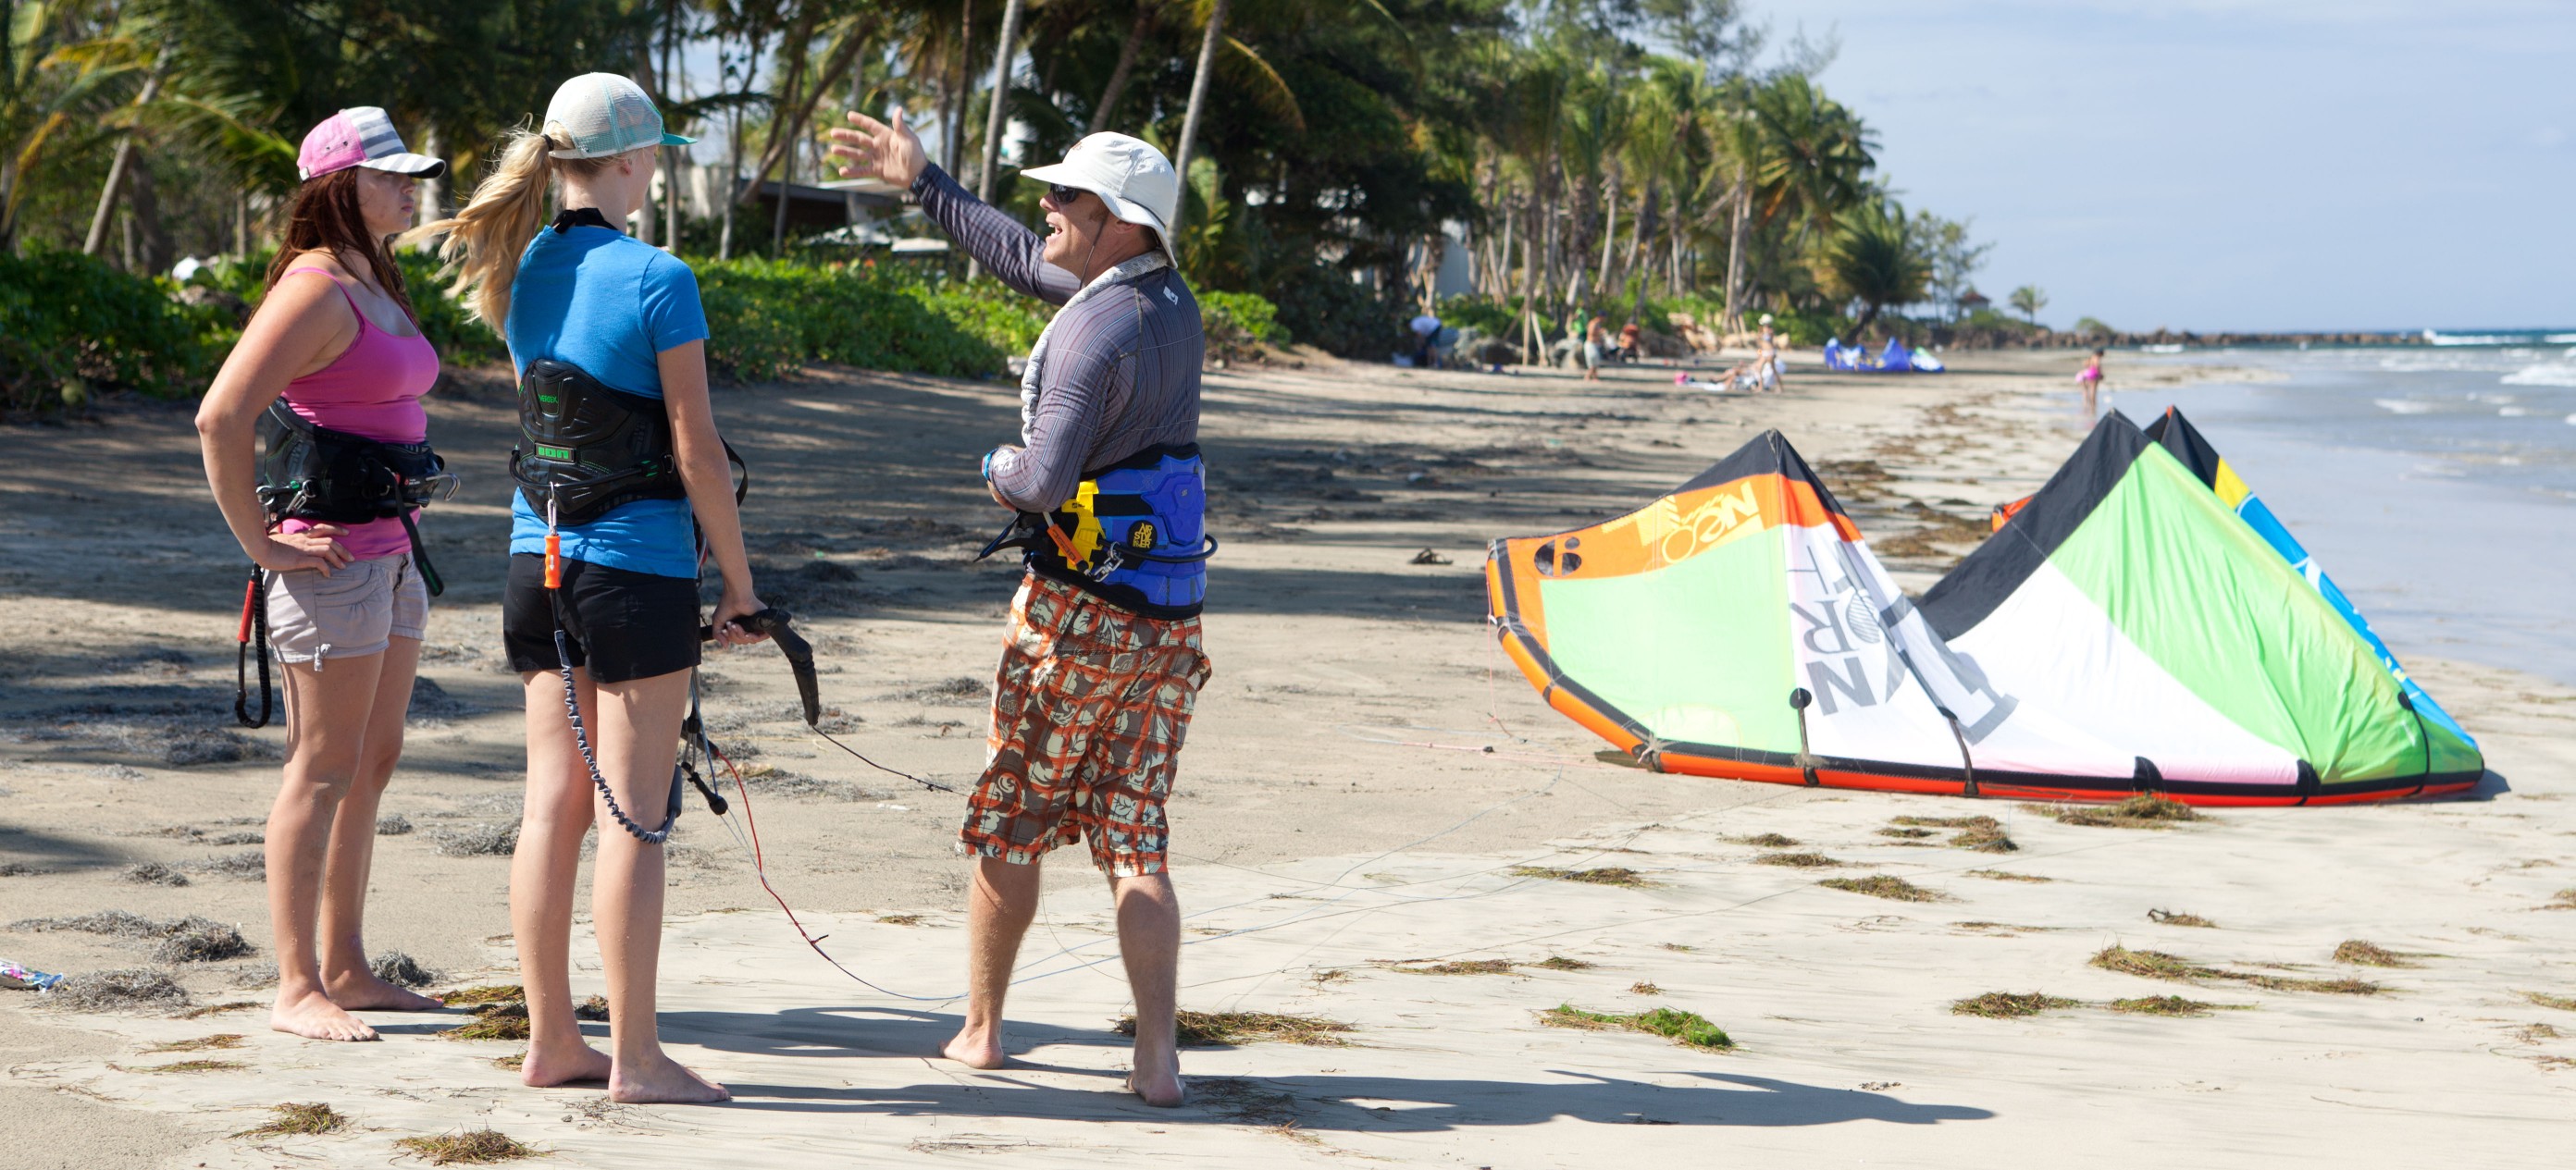
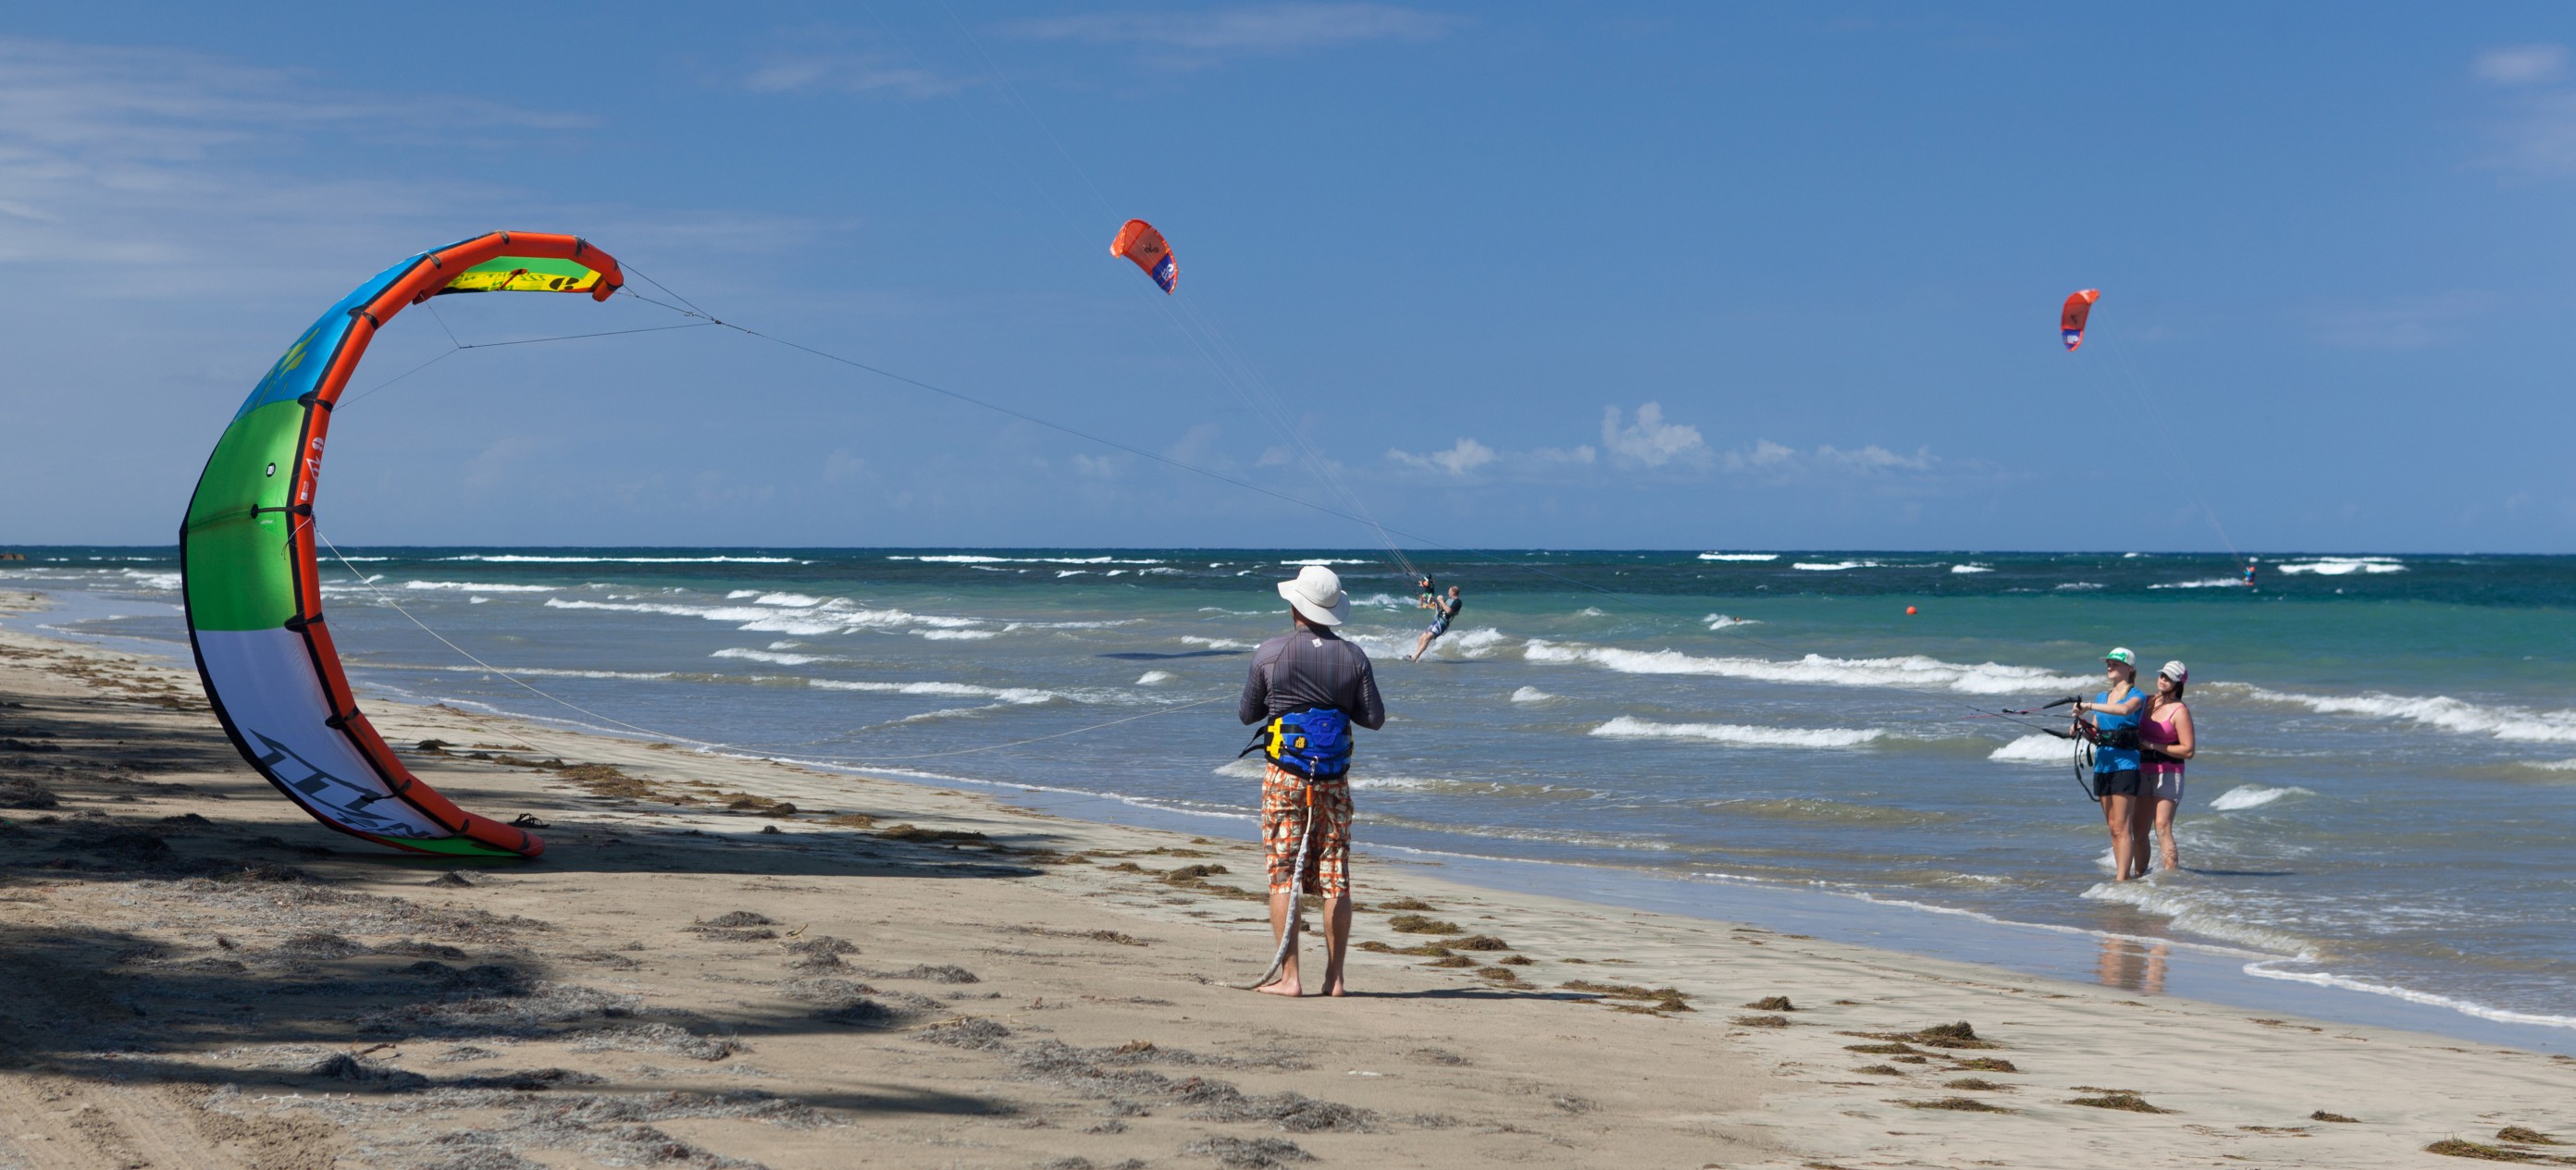
Lesson Details
There is a lot of information to cover in order to get you up and kiting but hopefully you will find it fun, as well as educational. Your instructor will explain everything in several stages and will answer all your questions as you go. (go to booking to read about booking a lesson). Check out the kiting instructional videos in Lesson Videos. Take a look at some of our students during their lessons in Galleries/Students.
1. Kite Flying and Wind Information
The Wind Window

We start off by talking about the wind and how the kite actually flies. As every sailor knows, the wind is fickle. It is never constant; it changes direction and power and this is something we can feel and begin to recognize.
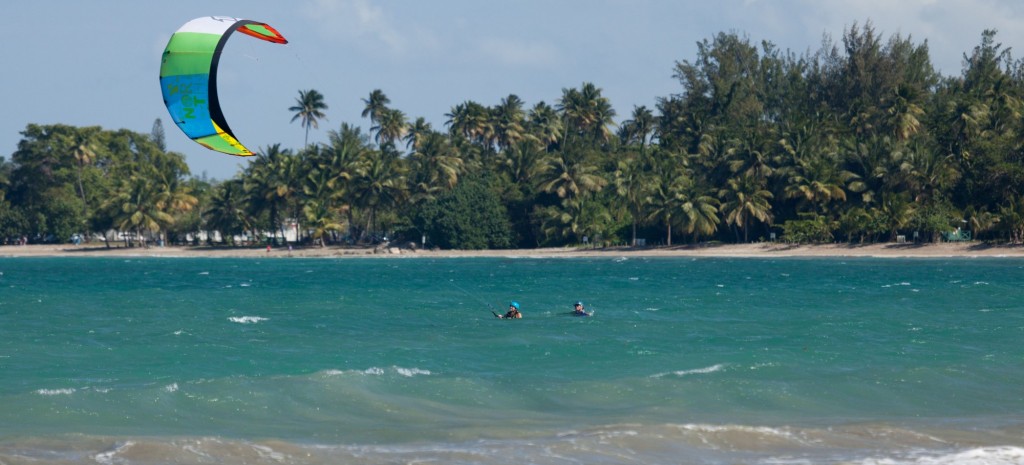
A very important term is the wind window. Imagine you are standing with your back to the wind and you stretch your arms out to the side. Now keep your arms stretched out and swing them up over your head. Your arms just ‘drew’ a semi-circle in the air. Now imagine your arms are 50 or 60 feet long and they draw a bigger semi-circle. That semicircle is the wind window and you will be controlling your kite to keep it somewhere on the wind window semi-circle.
Why keep it there? Well, if the wind is coming from behind you the kite obviously can’t go behind you, into the wind. If the kite were to move off the semi-circle in front of you it would be in what is called the power zone. As the name implies, when the kite is in the power zone it can pick up a lot more power; more power than you need or want.
Trainer Kite
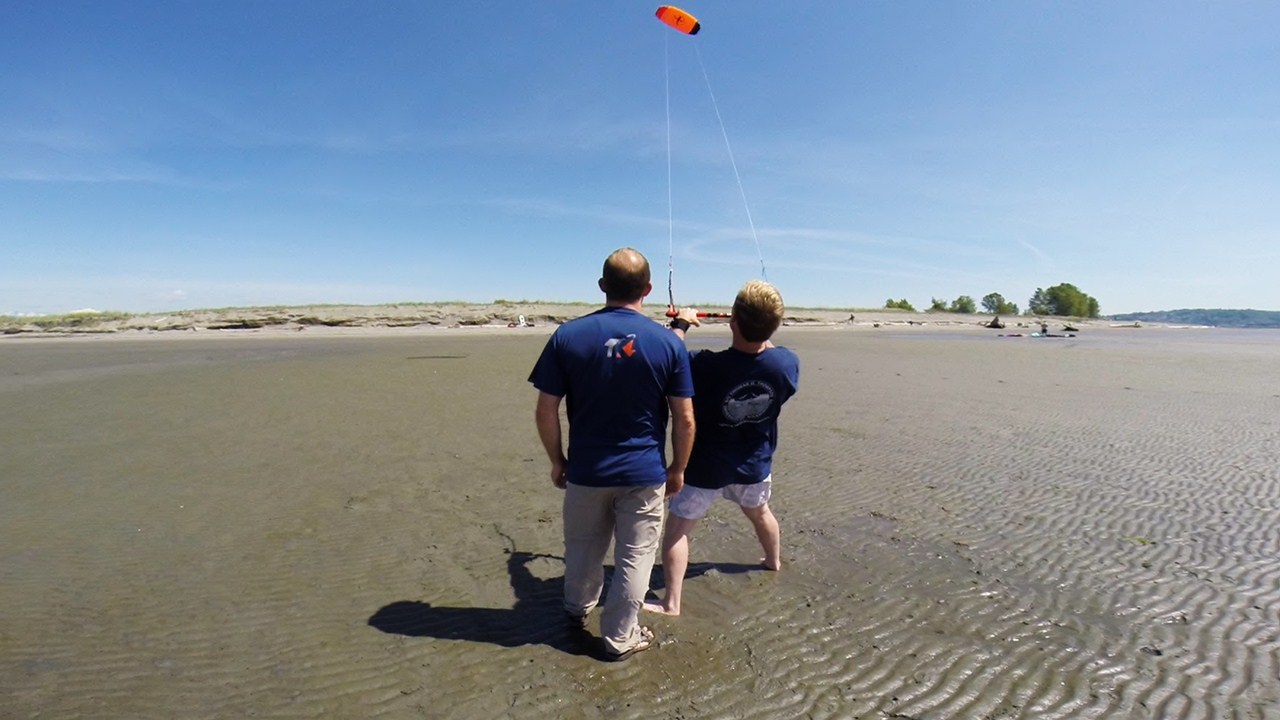
The first practical stage is when you get to fly a trainer kite. This is a small kite, not much larger that some kites you may have flown when you were a kid. Sounds easy, and it is but we think you will be surprised by how much you learn about the nature of the wind and what a kite does.
The trainer kite is connected via long lines to a bar that you hold and use to control the kite. Essentially this is very similar to how a full size kite is arranged but the trainer kite only has 2 lines, the bar is smaller and the kite power is much, much less.
You will be taught how to launch and how to fly the kite. Flying the kite is a matter of control. Your instructor will ask you to bring the kite to 12 o’clock and then to 10 o’clock etc. Once you are able to position the kite to specific places on the wind window you will feel that you are in control.
2. The Gear: What You Need, How it Works
Components
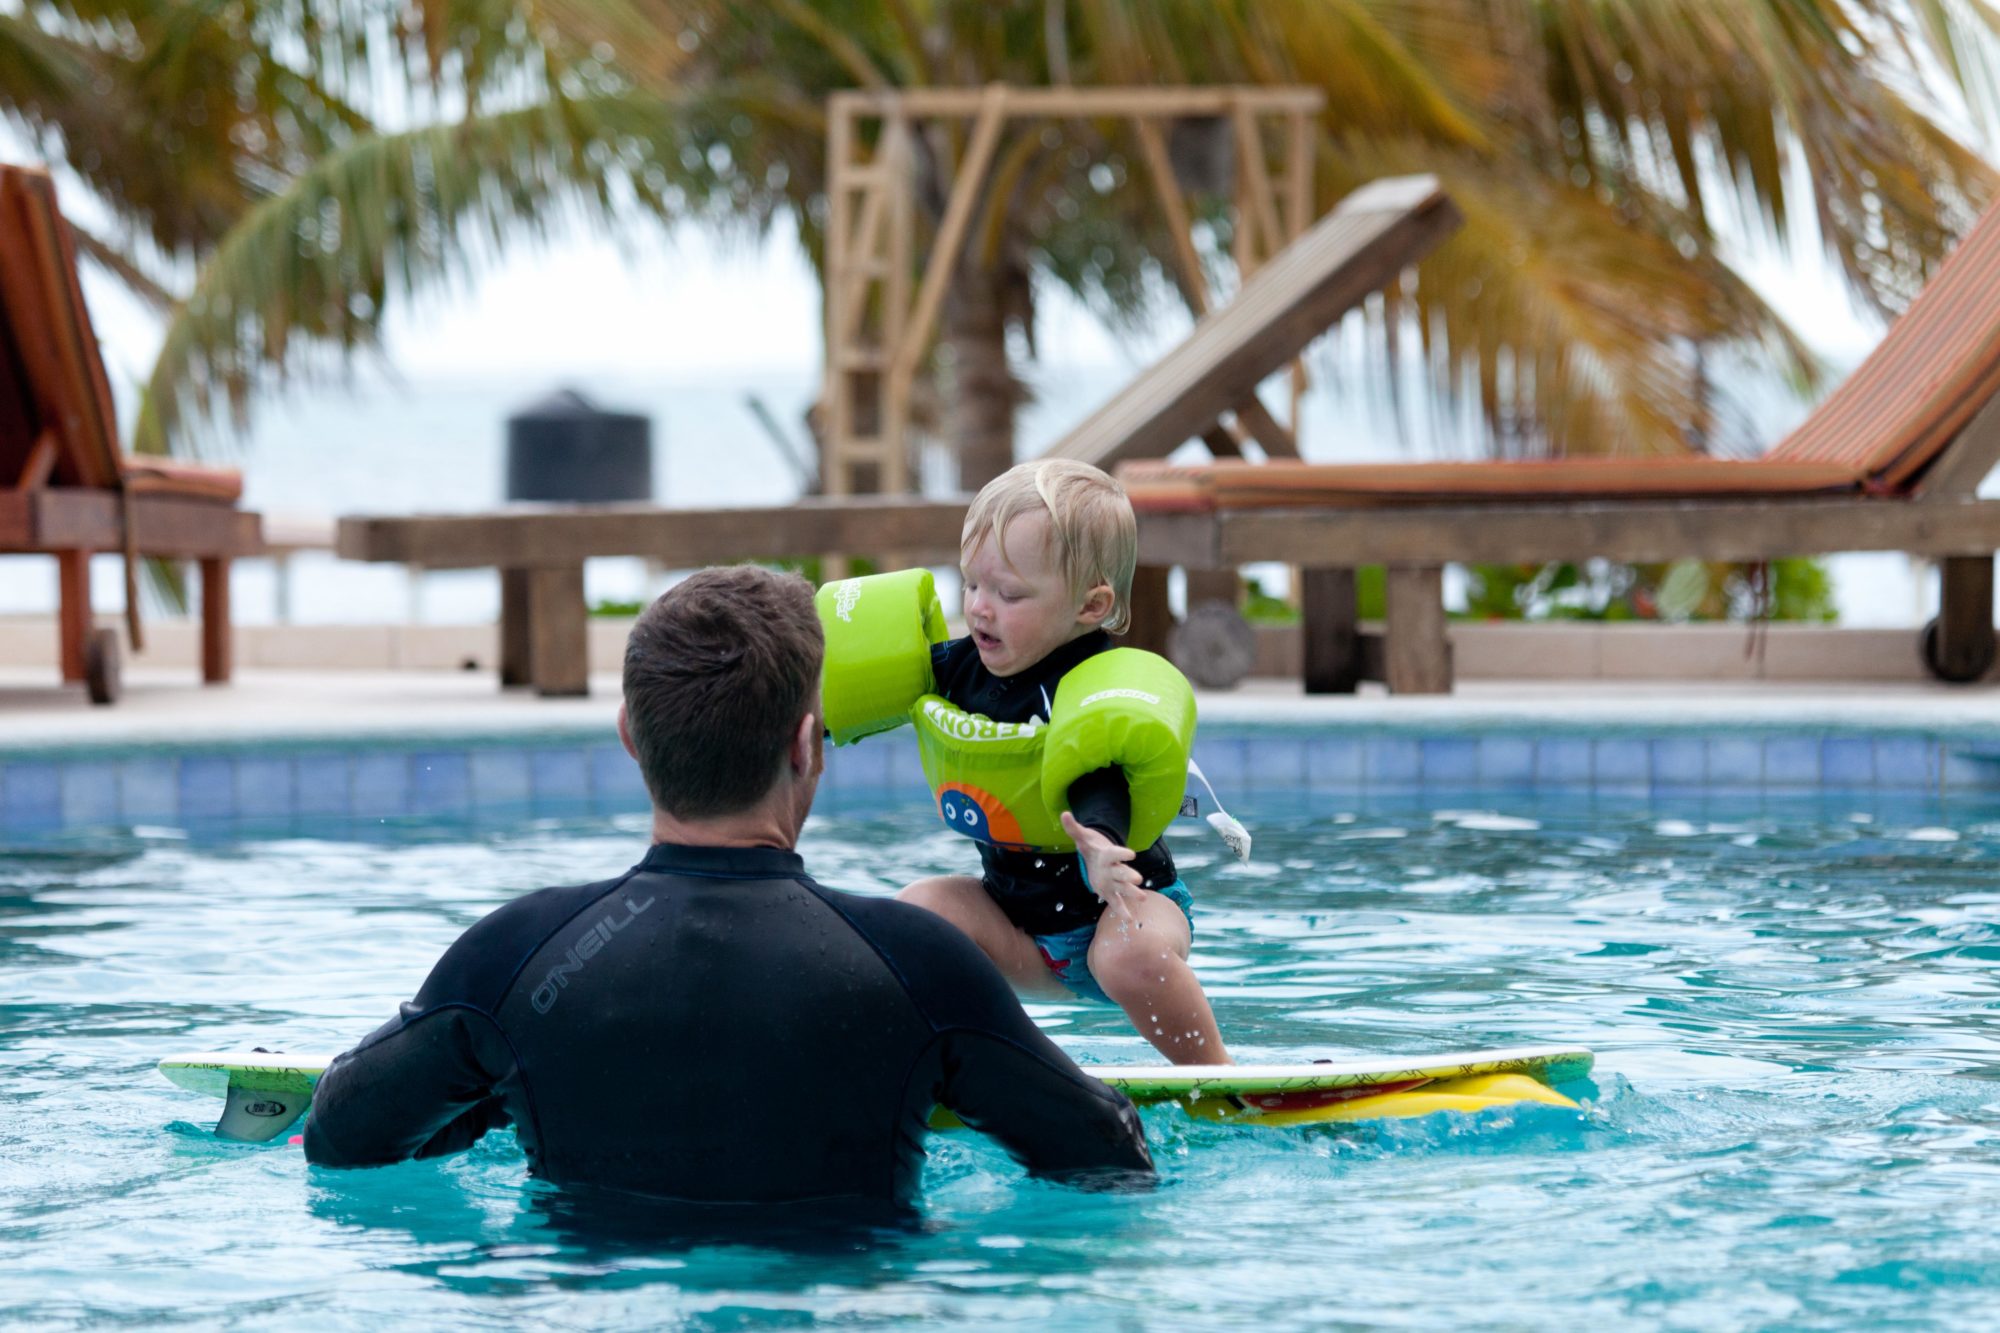
There are only 4 components strictly required for kiting but we always recommend adding a fifth item; a helmet. So what we have is: Kite, Control Bar, Harness, Board and Helmet.
Kiteboard
There are different types of board that target specific activities and experience levels but the most commonly used board is known as the “twin tip”. The twin tip means that you can ride it in either direction. As you can see in the pictures below, you stand on the board with your feet in the foot straps and there are fins underneath the board to help your stability and turning.

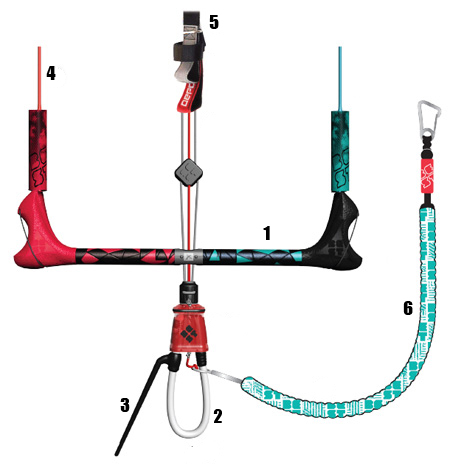
Control Bar
The bar is what you use to control the kite. It attaches to your harness with the chicken loop and the lines attach to the kite.
- Control Bar
- Chicken Loop
- Chicken Bone
- Steering/Trailing Edge Lines
- Center/Leading Edge Lines
- Safety Leash
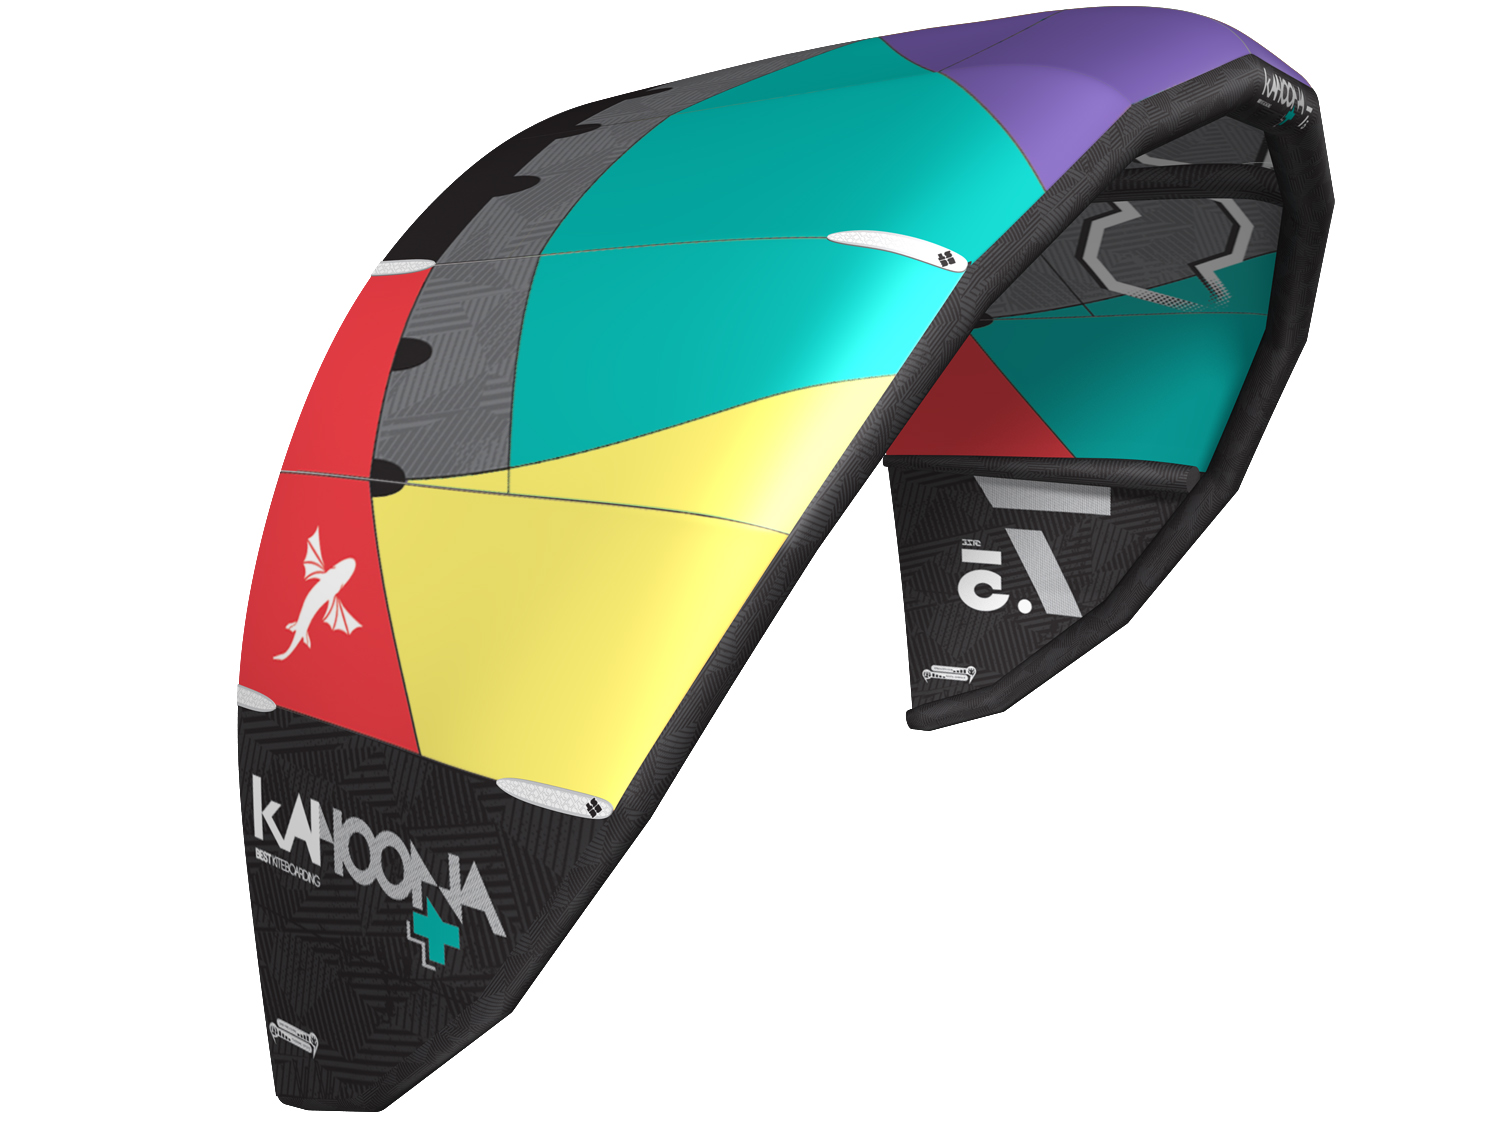
Kite
There are several types of kite but we are going to concentrate on the modern 4 line kite, known as a “delta” or “delta hybrid” kite.
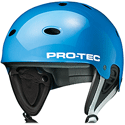
Helmet
We strongly recommend always wearing a helmet when you are kiting. You never know what might happen and you head is too precious to ignore a simple helmet.
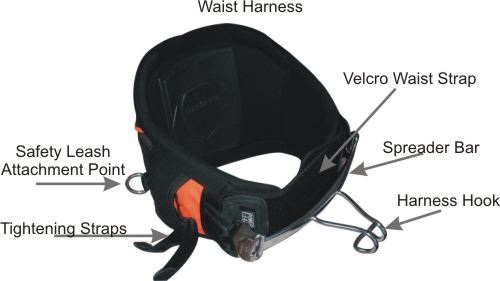
Harness
You wear the harness around your waist in a secure, comfortable manner. It has a velcro strap to wrap around the front and is fastened by clipping the spreader bar across your waist.
3. Setting Up Your Kite
Setting up your kite is the process of inflating the kite and connecting the lines from the bar to the kite. Pick a stretch of beach free from obstructions and away from people.
4. Launch and Land Your Kite
The basic method for launching your kite in the air requires the help of a friend; a friend who understands what is entailed in the launch process.
5. Kite Control
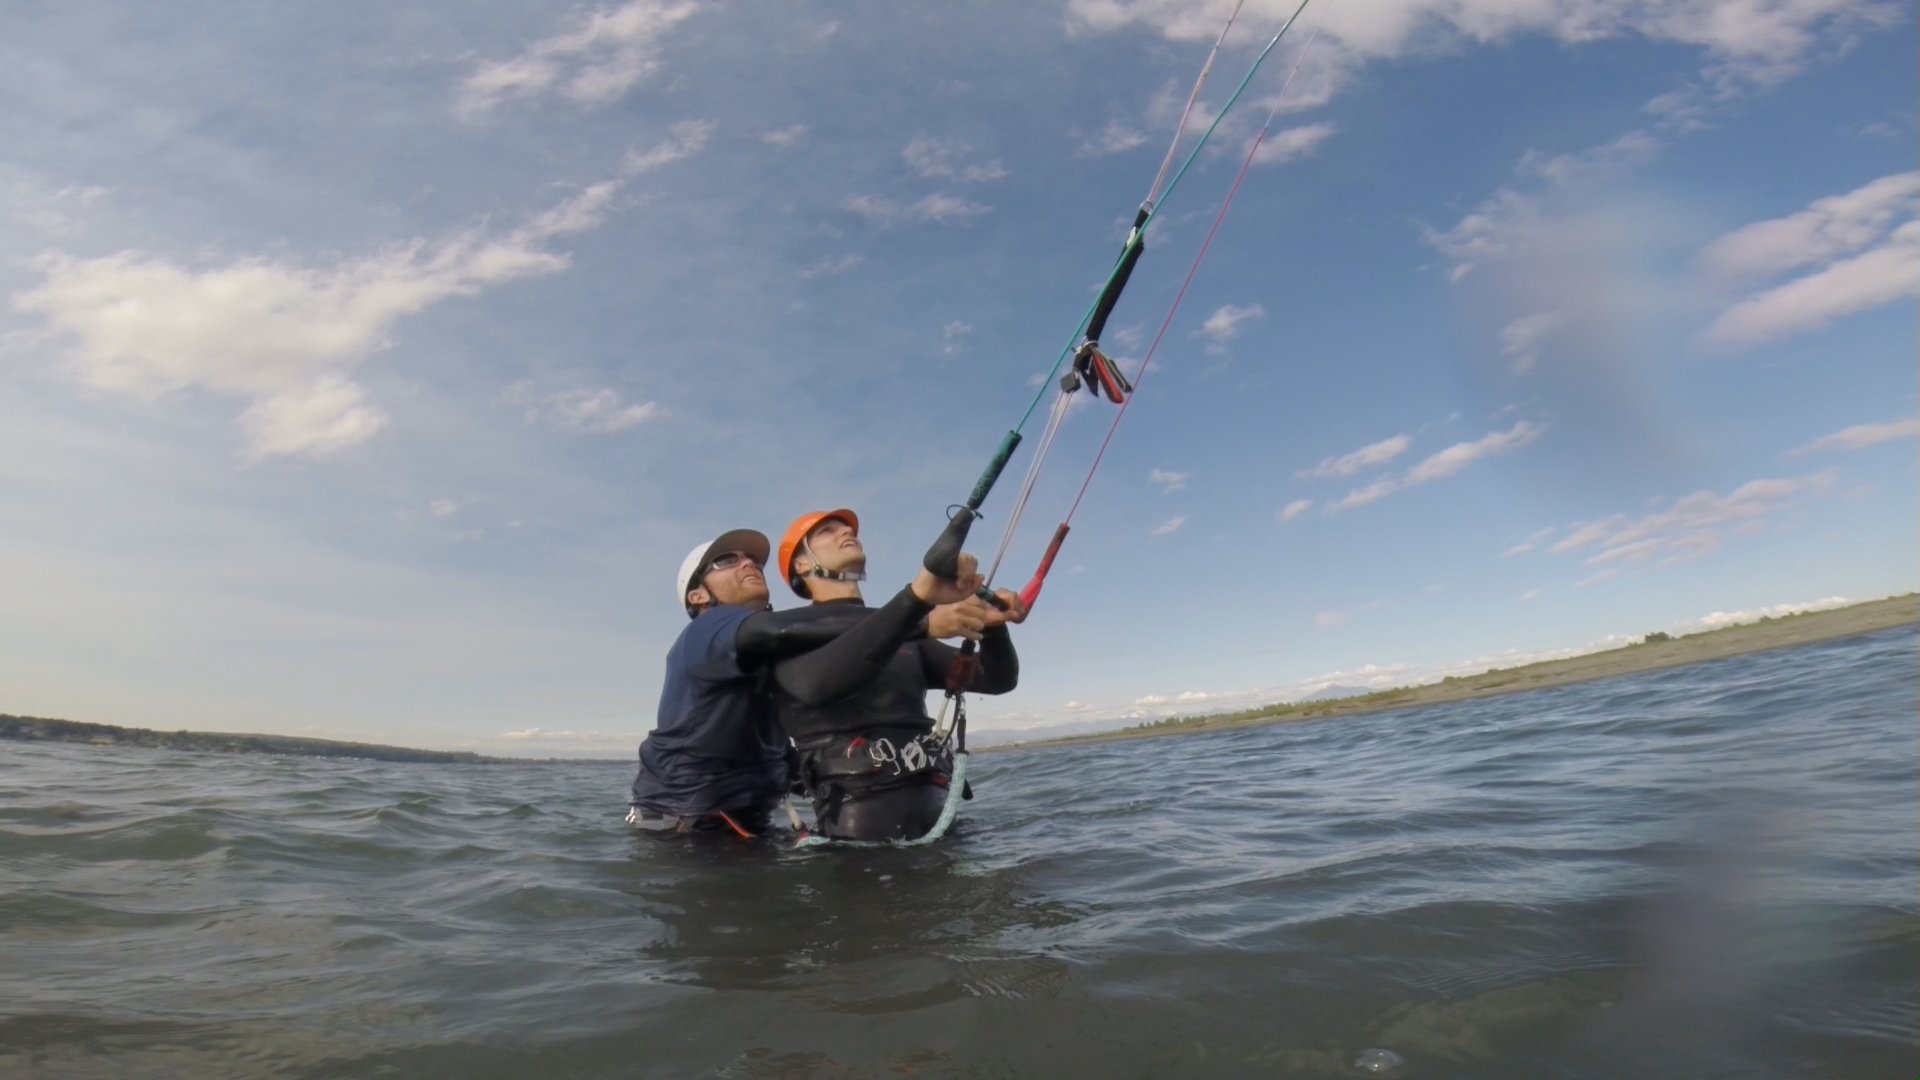
Kite control is absolutely fundamental to successful kiting.
6. Body Dragging
Now for some fun! Here is where you will put your new found knowledge into practice. You will use your kite control skills to pull you through the water, without a kite board.
7. Up On the Board
And finally you bring it all together and learn how to get up on the board.
8. Safety Systems and Techniques
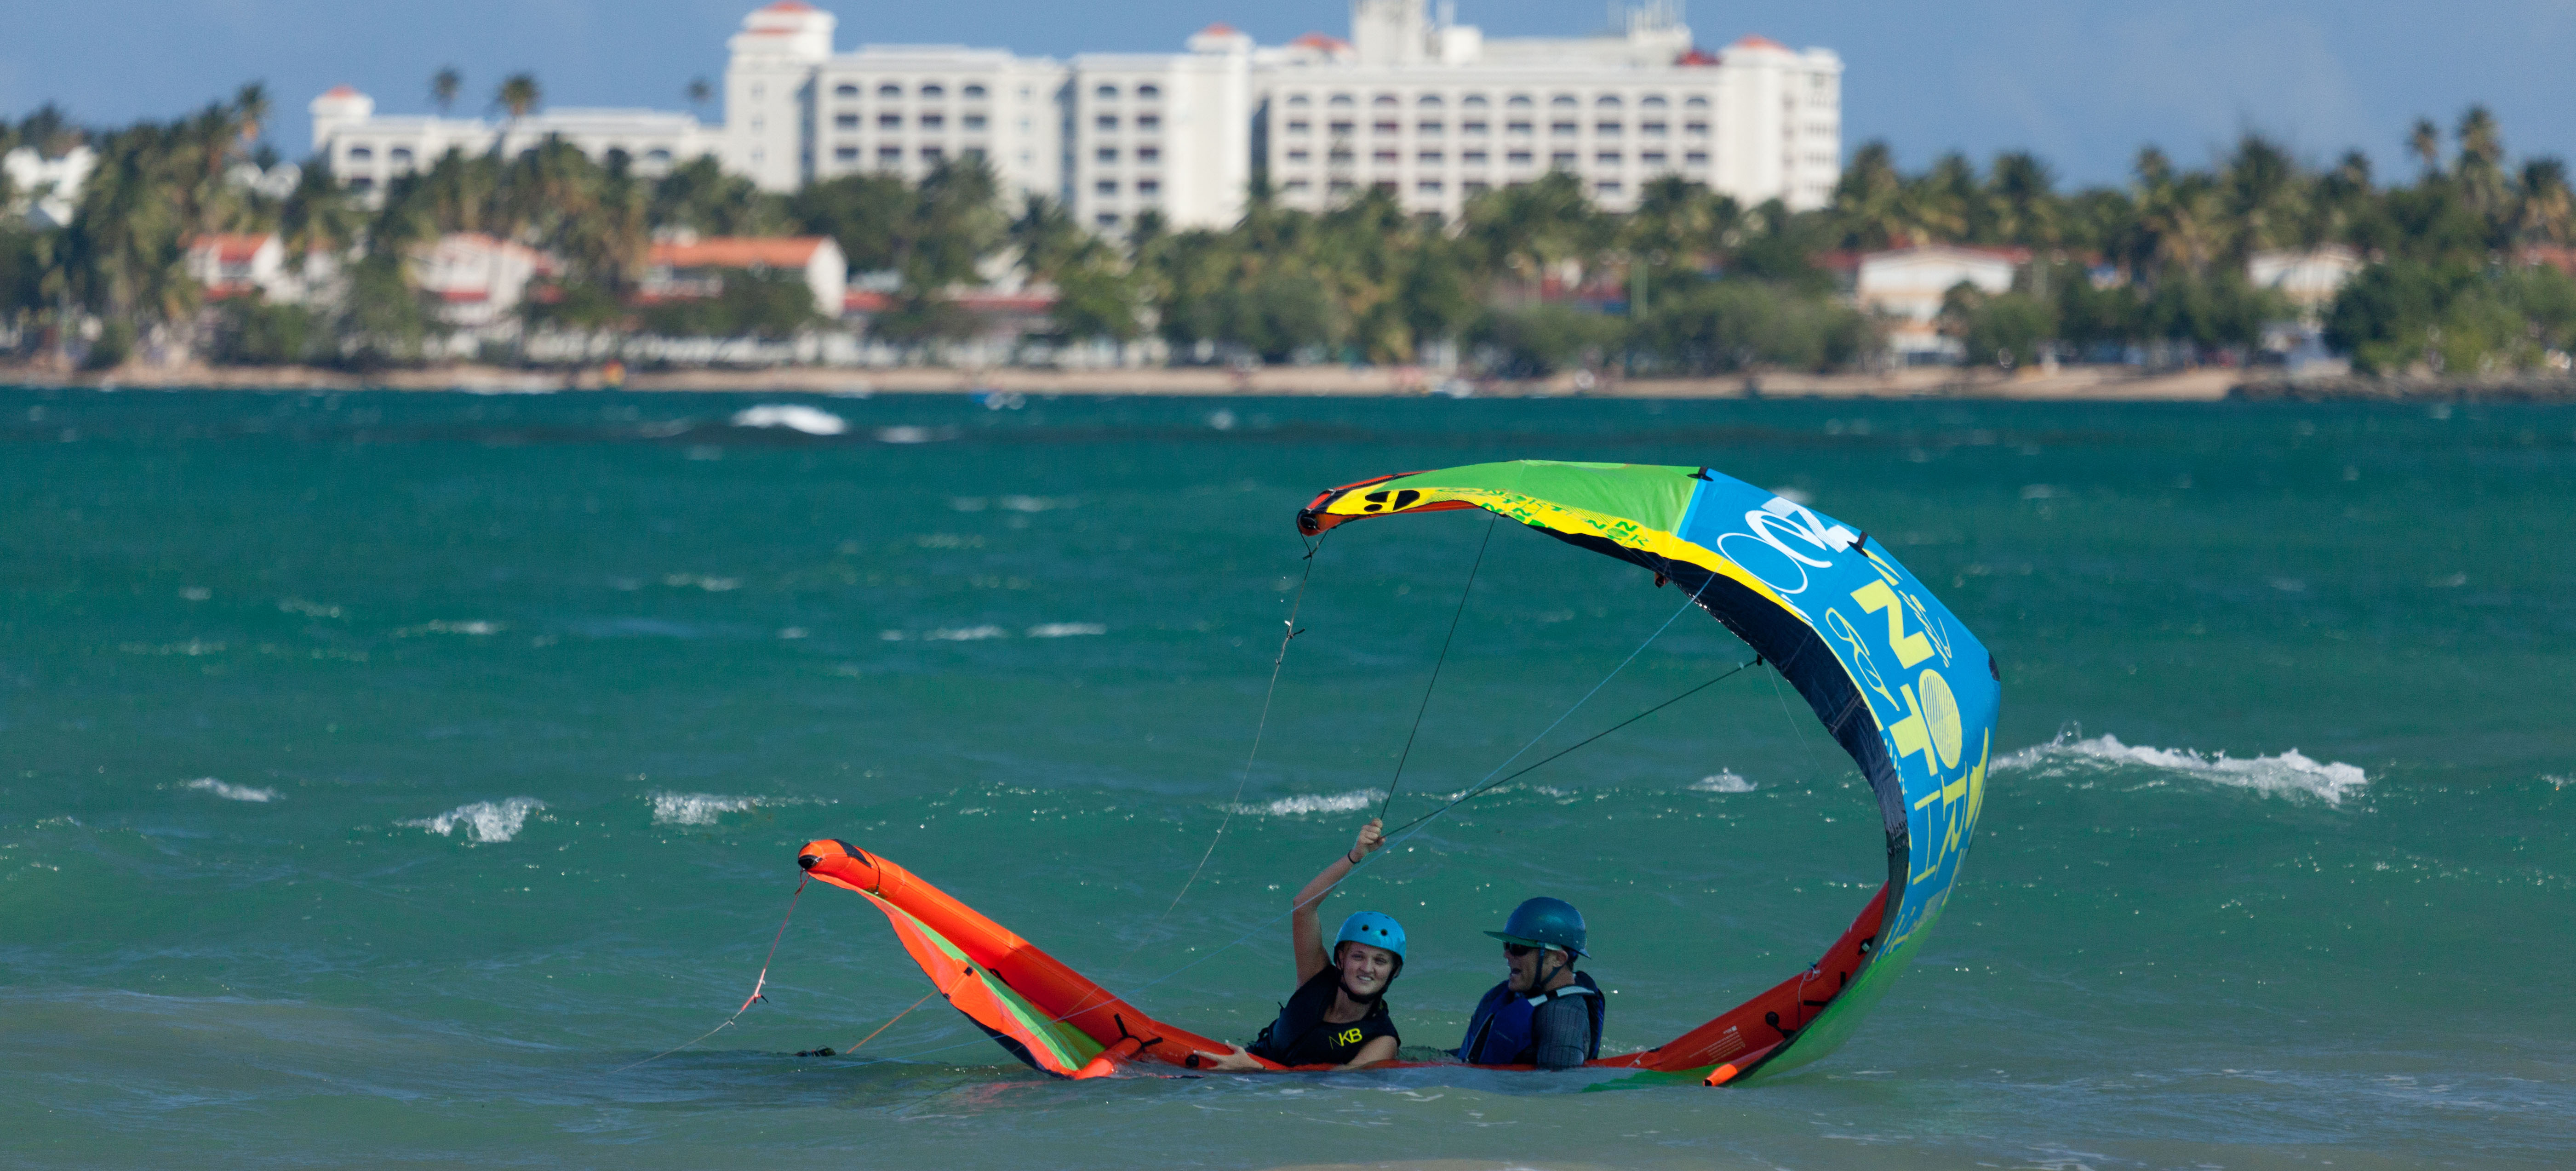
Things can go wrong; it’s a fact of life. So you must know what to do when that happens. Firstly you will learn about the safety release that de-powers the kite. You will this this release when you feel you are getting into trouble (don’t wait to be in trouble!), such as being too close to a dock or trees and you are unable to avoid a collision.
When the kite drops on the water you will learn how to relaunch it whilst you float in the water; and then how to do a water start (get back up on the board).
One thing that can go wrong is coming off your board and drifting away from it. You will learn how to body drag up wind, one direction at a time, until you can recover the board. If you cannot reach the board and you are getting tired then it is more important to save self with a ‘self rescue’. If something happens where you cannot relaunch the kite (e.g. a line breaks or the kite inverts) then you need to self rescue, which entails wrapping the kite into a sort of sail shape and heading home.